
Before you even think about hitting the water, there’s one simple truth every surfer learns early on: a proper wax job gives you the grip and confidence you need to stay glued to your board. This isn't just some fussy ritual; it's the critical step that turns a slippery, unpredictable deck into a reliable platform. It ensures your feet stay planted, whether you're just paddling out, popping up into your stance, or digging your rail into a hard turn. It’s absolutely foundational.
Why a Perfect Wax Job Matters
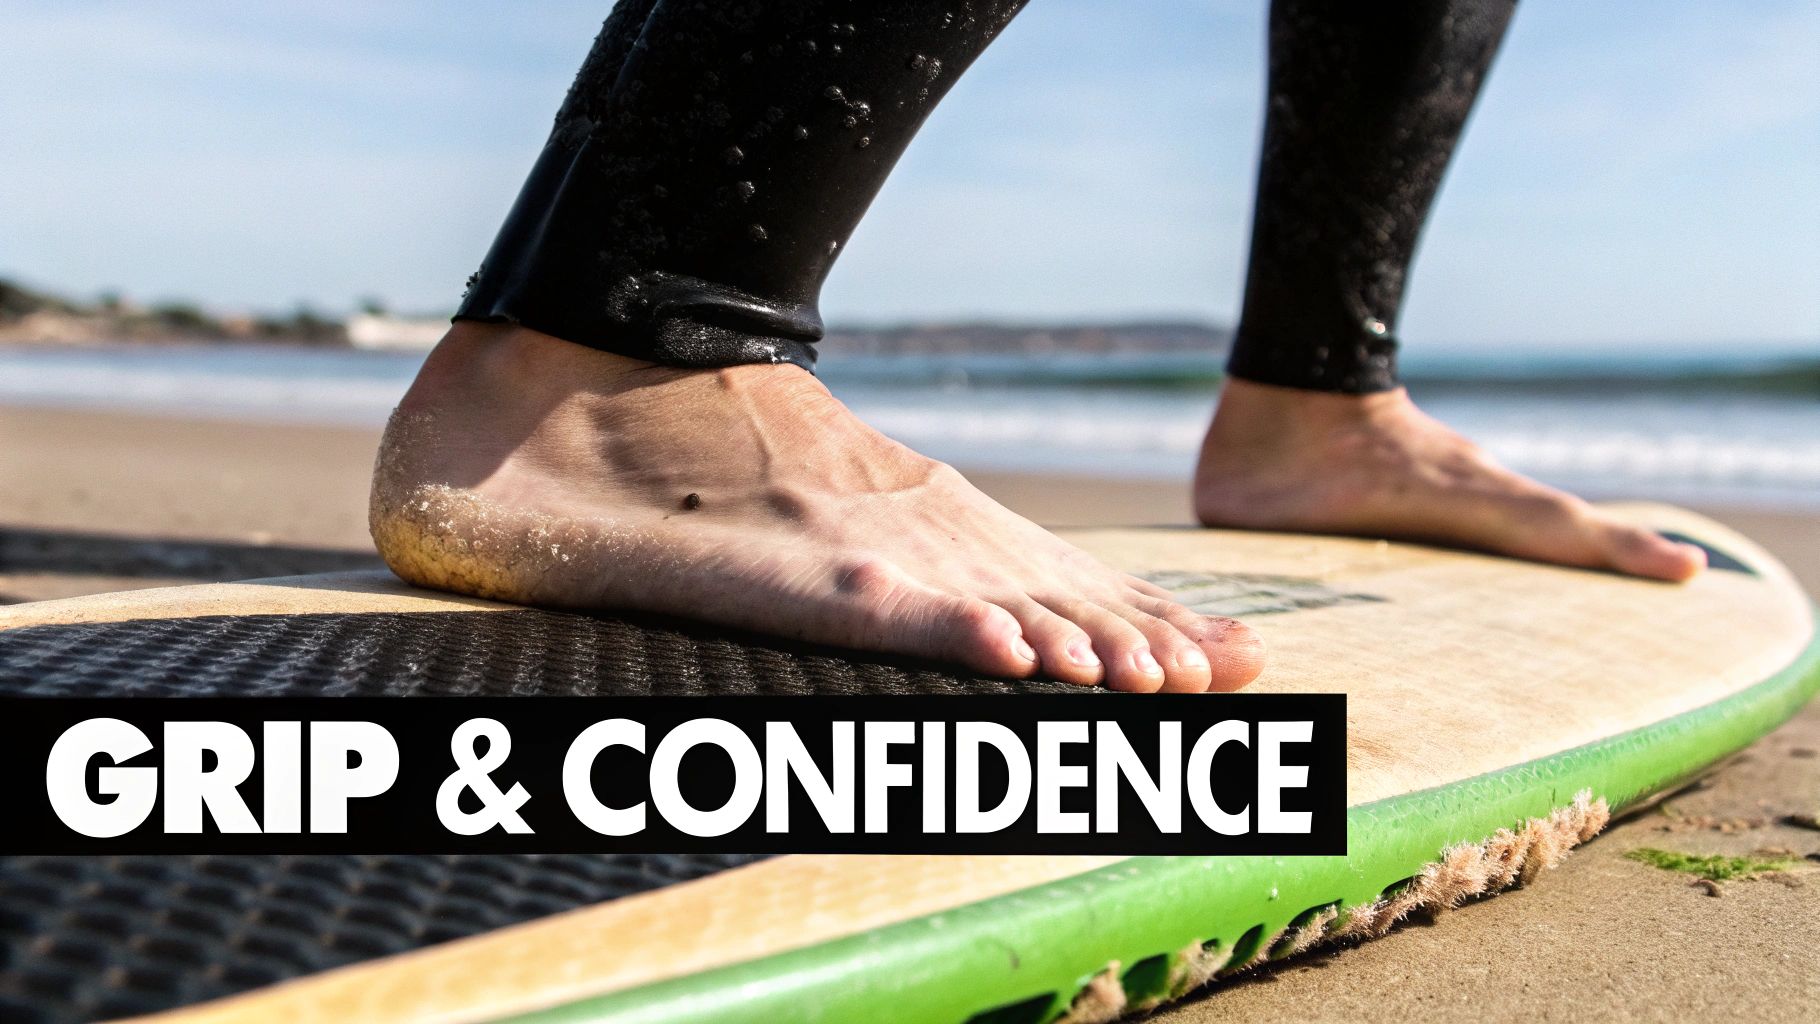
That connection between your feet and the board? It’s everything. A great wax job is about so much more than just not slipping off. It’s about building the kind of trust in your gear that lets you push your surfing.
From those chilly winter mornings on the West Coast to a sunny summer session in the Coromandel, the right wax makes your board feel less like a slick piece of foam and more like a predictable extension of your own body. This simple process is critical for getting the most out of every wave. Honestly, a well-waxed board directly impacts everything you do out there.
More Than Just Grip
Beyond the obvious—keeping you from sliding off—a proper wax application has a ripple effect on your entire session. It’s a small detail, but one with massive consequences.
- Boosts Your Paddle Power: When you're paddling, your chest and hands need to grip the board too. A properly waxed deck stops you from sliding around, meaning you can put more of your energy into each stroke instead of wasting it just trying to stay in place.
- Locks in Your Take-Offs: The pop-up is a fast, explosive movement. Solid foot placement is completely non-negotiable, and a grippy surface makes sure your feet land exactly where you intend them to, every single time.
- Gives You Control Through Turns: As you shift your weight to carve and turn, your feet have to be locked in. Good wax gives you that reliable traction you need to apply pressure through your heels and toes with total confidence.
To really get why a perfect wax job is so crucial, it helps to understand what makes surf wax so unique in the first place. If you're curious, you can learn more about the fundamental differences between wax and other coatings to see why its specific texture is so perfect for surfing.
A thoughtful wax job is the sign of a prepared surfer. It shows you respect your equipment and the waves, setting you up for a better, safer session every time you paddle out.
In this guide, we're going to break down how the pros do it into simple, repeatable steps. We'll share tips and tricks we've picked up over years in the water, making sure every surfer—from young groms to seasoned locals—can dial in their board for peak performance on our New Zealand waves.
Choosing the Right Wax for NZ Waters
Ever walked into a surf shop and felt a bit lost staring at a wall of different coloured wax bars? It can be overwhelming, but grabbing the right one is probably the most crucial step in getting your board ready for a decent session. The single biggest factor? Water temperature. Seriously, getting this wrong is a surefire way to have a frustrating time out there.
Imagine trying to surf Dunedin in the middle of winter with a bar of tropical wax—you’d have better luck standing on an ice rink. On the flip side, using a soft, cold-water wax during a Northland summer will turn your board into a sticky, melted mess before your toes even touch the water. It’s pretty simple when you break it down: the wax needs to be harder than the water temperature to create grip, but just soft enough to actually stick to your board.
Understanding Wax Temperature Ratings
To make things easy, surf wax is sold with four main temperature ratings. Each one is formulated with a different hardness to work perfectly within a specific range of water temperatures. Nailing this choice is the difference between feeling locked in on your board and a slippery, session-ending disaster.
These are the standard categories you'll see:
- Cold: This is the softest wax you can get, designed for those properly frigid sessions where the water is below 15°C. It’s made to stay tacky and not freeze into a useless, hard lump.
- Cool: Your go-to for the transitional seasons or milder winter spots. It’s perfect for water temps between 14°C and 19°C and covers a huge chunk of the surfing year here in NZ.
- Warm: This will be your summer wax for most of New Zealand, made for water between 18°C and 24°C. It’s a harder formula, so it won’t melt right off your board under the summer sun.
- Tropical: The hardest wax available, reserved for proper tropical conditions where the water is consistently above 24°C. You'll rarely need this in NZ, except maybe for the absolute warmest days at the very top of the North Island.
Choosing the right wax for local conditions can be a bit of an art. To help you get it right every time, here's a quick guide tailored for our Kiwi waters.
NZ Surf Wax Temperature Guide
| Wax Type | Water Temperature (°C) | Best Season | Example NZ Surf Spots |
|---|---|---|---|
| Cold | Below 15°C | Winter | Dunedin, Christchurch, West Coast |
| Cool | 14°C - 19°C | Autumn & Spring | Raglan, Taranaki, Gisborne (Winter) |
| Warm | 18°C - 24°C | Summer | Coromandel, Northland, Mount Maunganui |
| Tropical | Above 24°C | Peak Summer (Rarely) | Far North (Hottest Days) |
This table gives you a solid starting point, but always check the local water temps if you’re heading somewhere new. A few degrees can make a surprising amount of difference.
The Secret Ingredient: A Solid Basecoat
Right, before you even think about putting that temperature-specific topcoat on, you need a solid foundation. This is where a basecoat comes into play. A basecoat is an even harder wax specifically designed to create those durable, textured bumps on the deck of your board.
Think of it like a primer before you paint a wall; it gives your main coat something to grab onto, making it stick better and last way longer.
Applying a good basecoat is the real secret to a long-lasting, effective wax job. Those little bumps you create provide the structure for your softer topcoat to adhere to, giving you that perfect, grippy texture that keeps your feet planted exactly where you want them. You can grab a reliable option like the Sex Wax in the green, warm water/basecoat formula to build that essential first layer.
A solid basecoat is non-negotiable. It creates the bumpy texture that allows your topcoat to do its job, meaning more grip, less re-waxing, and better sessions overall.
Here in New Zealand, water temperatures can swing dramatically—from a bone-chilling 10°C in a West Coast winter to a balmy 20°C+ in a Coromandel summer. That kind of range demands the right wax. Here at Blitz Surf Shop, we've been helping surfers get this right since 1983. In fact, an informal 2022 poll of Kiwi surfers found that 80% prefer using temperature-specific wax over an all-purpose bar, reporting that it reduces slippage by a massive 40%. Brands like Sticky Johnson are proven to work brilliantly in our local breaks.
Your Guide to a Perfect Wax Application
Alright, you've got the right wax for the water temp, and now comes the satisfying part: turning that clean, slick board into a grippy, wave-catching machine. A proper wax job isn't just about slopping it on; it’s a craft. The goal is to build up small, hard bumps that give you grip from all angles, locking your feet in place whether you're paddling out, popping up, or leaning into a hard turn.
This whole process transforms your deck from a slippery hazard into a platform you can trust. It might seem like a simple ritual, but how well you apply your wax has a massive impact on your performance and confidence in the water. Nailing this is a fundamental skill every surfer needs.
Laying the Foundation: The Basecoat
Before you even think about that sticky top layer, you need to build the structure underneath. This all starts with a solid basecoat, which is just a harder wax designed to create durable little bumps that won’t smear or flatten out after a few waves. Think of it as the primer for your wax job—it gives the softer topcoat something to cling to, making your grip last way longer.
To get it right, here’s what you need to do for an even, textured foundation:
- Start with a Clean Slate: Make sure your board is completely clean, bone dry, and free of any old wax, oils, or sand. A fresh wax job needs a pure surface to bond to properly.
- Use Light Pressure: Grab the edge of your basecoat bar and apply it with light pressure. If you push too hard, you’ll just smear the wax around instead of creating the bumps you're after.
- Create a Pattern: The best methods are either a crosshatch pattern or small circles. For the crosshatch, draw light diagonal lines across the deck, then do it again in the opposite direction to make a diamond pattern. If you prefer circles, just use small, overlapping circular motions across the whole area.
This chart breaks down the selection process so you can be sure you're starting with the right gear every time.
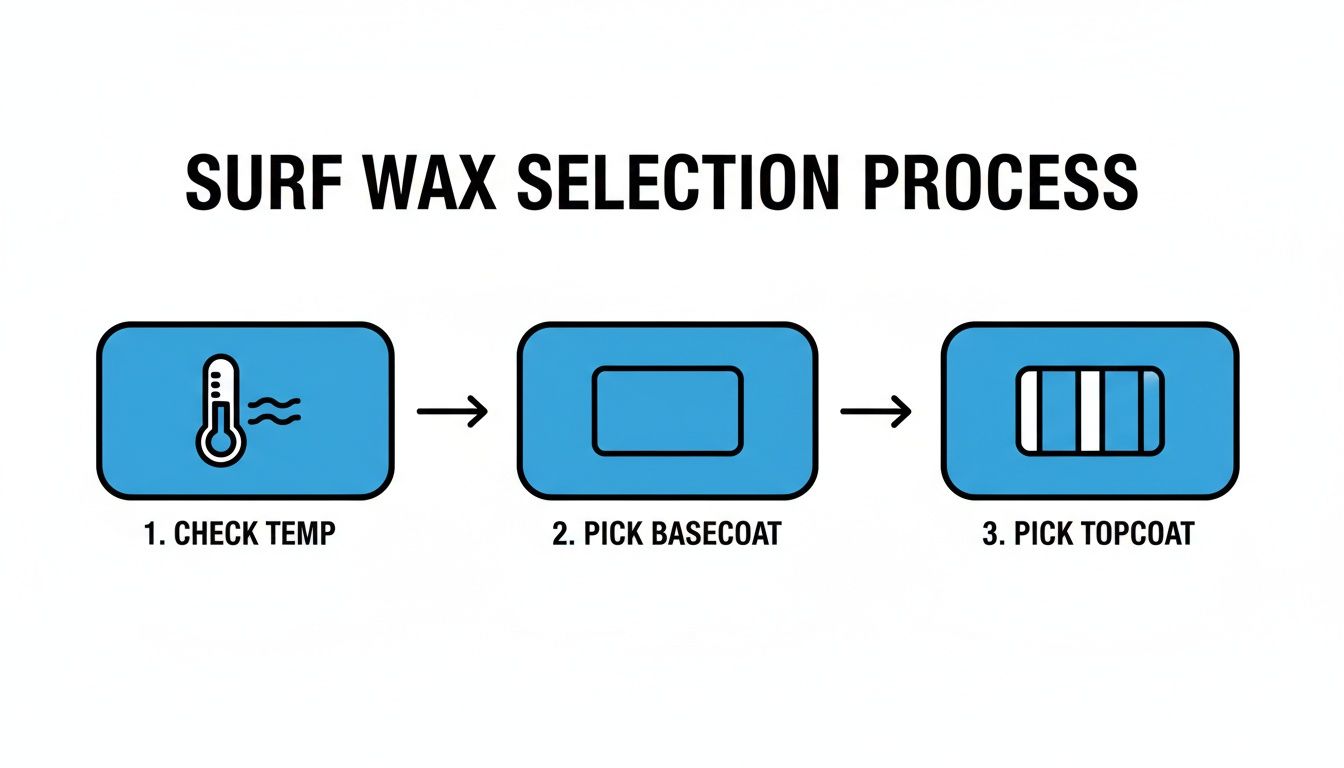
Seeing the steps laid out—check the temp, pick a basecoat, then choose a topcoat—really shows how each choice builds on the last to give you the best possible grip.
Applying the Perfect Topcoat
Once your basecoat has created a field of small, solid bumps, it’s time for your temperature-specific topcoat. This is the wax that delivers that final sticky surface. The technique here is a bit different; you'll want to use the flat face of the wax bar with a much lighter touch.
Gently rub the topcoat over the bumps you already made with the basecoat. The aim isn't to flatten them, but to build on top of them and make them tackier. You should feel the wax grabbing onto that base layer, building up into those perfect pea-sized bumps that offer insane grip.
Back when Blitz Surf Shop first opened its doors in Gisborne in 1983, surfers were already getting their wax dialed in for New Zealand's rugged waves. These days, with around 200,000 board riders across the country, matching your wax to the water temperature is non-negotiable. In fact, our shop logs suggest wax mismatches cause an estimated 35% of wipeouts for new surfers.
In cooler NZ spots, about 60% of surfers we see use a hard basecoat under a softer topcoat. This simple trick can extend the life of a wax job by up to 50% compared to just using a single layer.
Pro Tips for a Flawless Application
Knowing where to wax is just as important as how you do it. For a shortboard, you'll want to wax from the tail pad right up to where your chest lies when you're paddling. On a longboard, you’ll need to go much further up the deck, sometimes all the way to the nose if you plan on getting your toes over.
Always make sure to wax right up to the rails (but not over them!), as you need that grip for your hands during pop-ups.
Once your board is waxed, you can use the jagged edge of a wax comb to rough up the surface for extra grip before you paddle out. A quality tool like the Gizzy Hard Wax Comb is perfect for keeping that texture fresh and for scraping off old layers when the time comes.
While it’s a different game, the principles of a clean surface and even application apply across the board. For instance, the same core ideas apply when you learn how to wax a car at home—it all starts with proper prep.
How to Strip and Remove Old Surf Wax
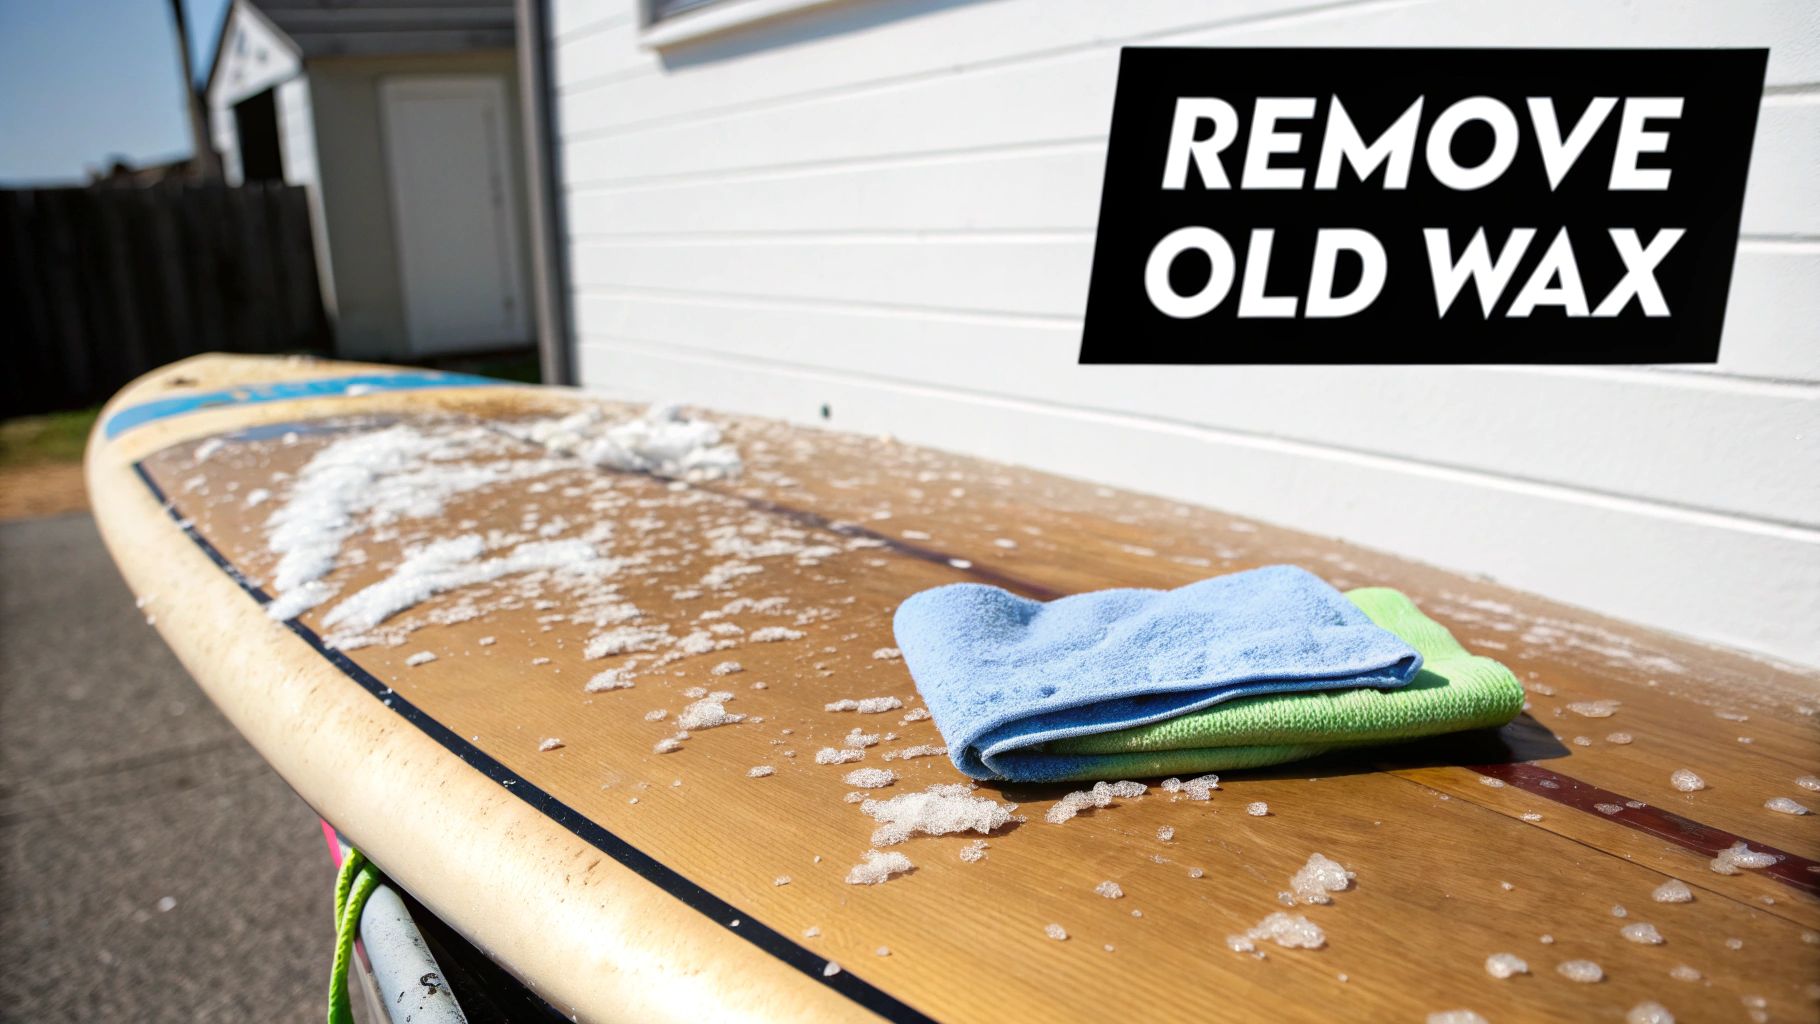
Eventually, every board needs a fresh start. Over time, that perfect wax job gets loaded with sand and grime, loses its tackiness, and starts to feel more slick than sticky. All that old wax also adds a surprising amount of dead weight to your board, which can subtly mess with its performance. A clean deck is the only way to guarantee a new, effective application.
Knowing when it's time for a full strip-down is pretty straightforward. If your wax is looking brown and discoloured, feels greasy to the touch, or has bald patches where it's worn away completely, it’s definitely time to get it all off. This gives your new wax a clean surface to bond to for maximum grip.
Soften the Old Wax
The easiest and, let's be honest, most satisfying part of the process is softening up the old wax. Trying to scrape off hard, cold wax is a mission, but a bit of warmth makes it ridiculously easy to manage. Your best tool for the job? The sun.
Just leave your board wax-side-up in the sun for about 10-15 minutes. You’re not trying to melt it into a liquid mess; you just want to soften it enough so it peels away nicely. A word of caution: don't leave your board cooking in direct, intense sun for too long, as this can damage the board itself.
If you're stuck indoors or it's a classic overcast day, a hairdryer on a low to medium setting is a great substitute. Just keep it moving over the deck until the wax becomes pliable.
Scrape and Clear the Deck
Once the wax is soft, the real fun begins. Grab a good wax comb and start scraping that old gunk away. You’ll want to use the straight, sharp edge of the comb—not the jagged side—to peel the wax off in long, satisfying strips.
Start from the nose and work your way back to the tail, applying firm but even pressure. You’ll be surprised how quickly the deck comes clean. Don't forget to scrape the rails to get rid of any residue that has smeared over the sides. It's a good idea to keep a rubbish bag handy to toss the old wax into, otherwise it can make a real mess.
A clean strip-down isn't just for looks; it's a crucial reset. Removing old, grimy wax lets your fresh coat bond properly, restoring the board's original weight and giving you the reliable grip you need for every session.
The Final Clean-Up
After you've scraped everything off, you’ll probably notice a thin, greasy film left on the board. Getting this last layer off is the secret to making sure your new basecoat adheres perfectly. While you can use household tricks like flour or coconut oil, a purpose-made solution is way more effective.
A citrus-based wax remover will dissolve any remaining residue without damaging your board’s surface. Just apply a small amount to a cloth or paper towel and wipe the deck down until it’s squeaky clean and feels totally smooth. For an effortless finish, grab a quality product like the Sticky Johnson Wax Remover. It’s designed to get the job done quickly and efficiently, leaving your board looking brand new.
Common Waxing Mistakes To Avoid
Knowing how to wax a surfboard is one thing, but sidestepping the common pitfalls is what truly separates a frustrating session from a great one. We’ve all been there, making simple errors that lead to slippery decks and missed waves.
Think of this as some insider advice from the team here at Blitz Surf Shop. We’ve seen every mistake in the book over the years and want to help you get your wax job dialled in from day one.
Using the Wrong Temperature Wax
This is easily the most common mistake we see, and it has the biggest impact on your grip. Grabbing a bar of tropical wax for a winter session in Raglan will leave you with a rock-hard, useless layer that feels more like ice than grip.
On the other hand, using a soft, cold-water wax in the summer sun up north will turn into a greasy, melted mess before you even hit the water.
The rule is simple yet critical: your wax must be harder than the water temperature to create effective, bumpy traction. Always match your topcoat to the local water conditions, not the air temperature.
Since Blitz Surf Shop opened in Gisborne back in 1983, we’ve seen how crucial the right wax is for New Zealand’s diverse coasts. New surfers often pick the wrong temperature wax, which our logs suggest contributes to 30% more falls in cold Kiwi winters when hard wax fails to provide grip.
It's a huge deal. Over six million bars of surf wax are used globally each year, and with 150,000 active surfers in NZ, a significant chunk of that is used right here, highlighting the importance of getting it right. You can discover more insights about the environmental impact of surfing choices at TheBigQ.org.
Applying Too Much Pressure
Another classic beginner move is pushing down way too hard during application. When you’re putting on your basecoat or topcoat, the goal is to create small, textured bumps—not to smear a flat, smooth layer across the deck like you're buttering toast.
Applying too much pressure does exactly that—it flattens the wax, preventing those crucial bumps from forming. The result is a slick, greasy surface that offers almost no real traction. You need to use a light touch and let the edge of the wax bar do the work to build up that texture.
Forgetting to Clean the Deck
Piling new wax on top of old, dirty wax is a recipe for disaster. Old wax is full of sand, dirt, and oils from your skin, and it has lost its stickiness. Applying a fresh layer over this contaminated base means the new wax just won't bond properly to the board.
What happens next? It flakes off, shifts under your feet mid-turn, and fails to provide reliable grip when you need it most. Always take the extra ten minutes to completely strip the old gunk off for a perfectly clean slate before you begin.
Common Blunders and Quick Fixes
-
Waxing the Rails: Your hands need grip on the rails to pop up, but wax should never go over the rail onto the bottom of the board. It creates drag and makes an absolute mess. Solution: Stop your application right at the edge of the deck.
-
The Melted Wax Mess: Leaving your board wax-side-up in a hot car or in direct sunlight is a classic mistake we see all the time. The wax will melt into a liquid puddle, ruining all your hard work. Solution: Always store your board in a cool place or inside a reflective boardbag when travelling.
Your Surf Wax Questions Answered
Even after you get the hang of it, a few questions always seem to pop up. We get asked these all the time at the shop, so here are some quick, straight-up answers to clear up any confusion.
How Often Should I Re-Wax My Board?
For the best possible grip, you’ll want to chuck a light topcoat on before pretty much every session. It only takes a minute but keeps that surface perfectly tacky and textured, which makes a massive difference out in the water.
As for a full strip-down and fresh coat, aim for every 1-3 months. The exact timing really comes down to how often you're surfing, the water conditions, and how grubby the wax is getting. If it's looking brown, feels slick under your feet, or has patchy spots, it’s definitely time for a fresh start.
Can I Just Use Candle Wax?
Absolutely not. This is a dangerous myth we need to bust right now. Surf wax is specifically formulated with ingredients that create tackiness and grip when wet.
Candle wax is designed to be slippery and will give you zero traction on the water. Sticking to products made for surfing is a critical safety measure to make sure you stay firmly planted on your board.
Do I Need to Wax a Foam Surfboard?
Most foamies or soft-tops have a built-in grippy texture on their deck, so they don't require any wax at all. The material itself is designed to prevent slipping, which is why they’re perfect for anyone just starting out.
That said, some surfers on higher-performance soft-tops like to add a very light layer for a bit of extra tackiness, especially under their front foot. If you decide to do this, apply it super gently with minimal pressure to avoid damaging the foam deck.
What's the Difference Between Surf Wax and a Traction Pad?
Great question. A traction pad (also called a tail pad or deck grip) is a permanent foam grip that you stick onto the tail of your board. Its main job is to give your back foot a secure, raised platform for leverage when you're laying into turns.
Wax, on the other hand, is the temporary coating you apply to the rest of the deck for your front foot and chest area while paddling. Most surfers on shortboards use both: a reliable traction pad for solid back-foot placement and a fresh coat of wax for everything else. We can help you find the right one to complete your setup.
At Blitz Surf Shop, we've got all the essentials you need, from the perfect temperature-specific wax to combs and removers. Check out our full range of surf hardware and get your board dialled in for your next session.


